How to Replace a Labyrinth Seal
and Clean the Motor Shaft on a
SITEK or Semitool Spin Rinse Dryer
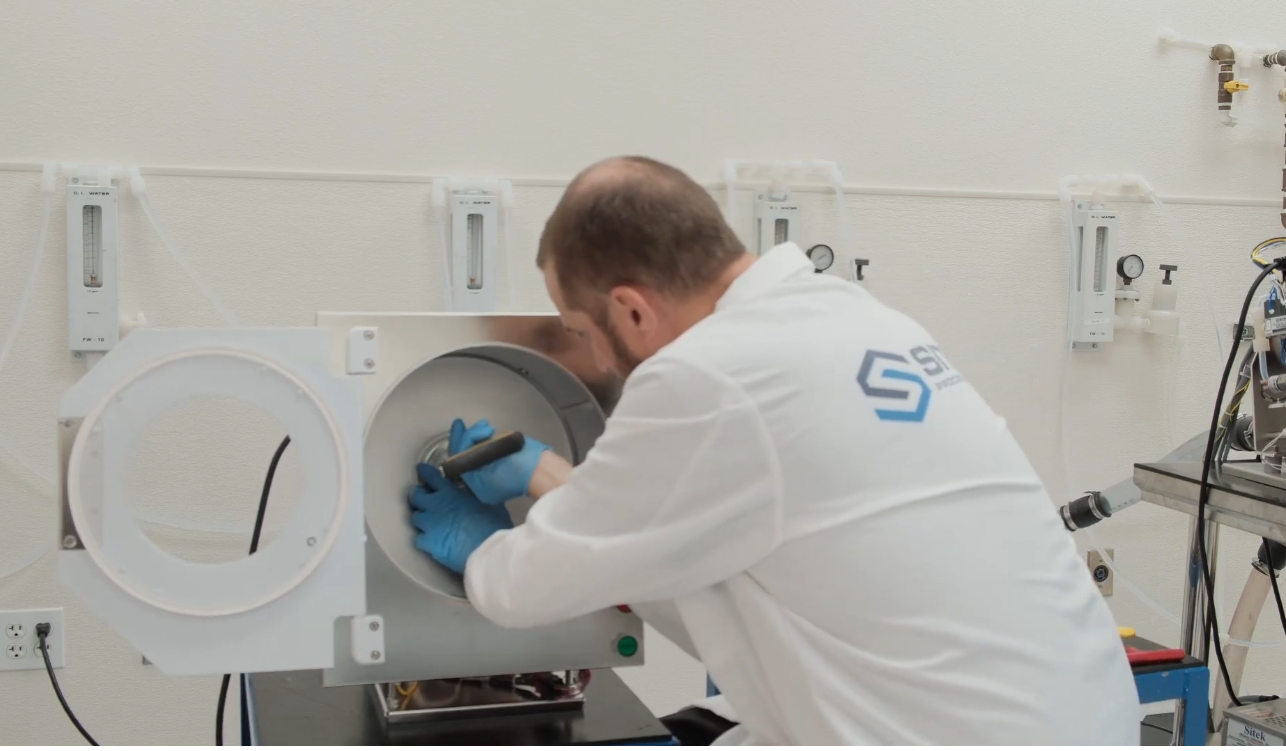
In this tutorial, SITEK technician Shawn Lingo demonstrates how to replace the labyrinth seal and clean the motor shaft on a SITEK or Semitool Spin Rinse Dryer (SRD). The procedure covers removing corrosion and debris from the motor shaft, disassembling and cleaning the labyrinth seal, cleaning the quick-disconnect (QD) shaft, and reinstalling the seal and rotor. You can either watch the video follow the step-by-step instructions below.
1. Remove the Rotor
Begin by using a T-handle wrench to remove the rotor bolt. Remove the rotor to gain access to the motor shaft.
Before removing the labyrinth seal, clean the motor shaft to minimize the amount of debris that could enter the tool during the remaining steps.
2. Clean Corrosion from the Motor Shaft
Cut a Scotch-Brite pad to a suitable size and roll it tightly enough to fit inside the motor shaft.
Using the controller, enter Manual Mode or Motor Feedback Mode. On a 101 controller or SITEK SlickDevice, select Manual Mode, followed by Motor Tach. Set the motor speed to approximately 500 RPM.
With the motor running, insert the Scotch-Brite pad into the shaft and move it in and out while applying pressure. Repeat until the corrosion and other buildup have been removed.
Stop the motor using the controller and inspect the shaft to confirm it is clean.
3. Remove and Clean the Center Seal
Remove the center seal from the middle of the labyrinth seal. If it will be reused, clean it with isopropyl alcohol (IPA) and a lint-free wipe to remove residue and debris.
If replacing the complete labyrinth seal, continue with disassembly.
4. Disassemble the Labyrinth Seal
Use a 9/64-inch Allen wrench to remove the front plate of the labyrinth seal. The plate may be difficult to separate if the components are stuck together. Carefully work the pieces apart without damaging them.
If reusing the seal, disassemble the outer ring and front components and wipe them clean. Alternatively, prepare the replacement assembly.
Labyrinth seals may have different screw configurations. Some use separate screws for the front and back plates, while others use longer screws that pass through the assembly. Identify the screw arrangement on your seal before proceeding.
Remove the center portion of the seal carefully to avoid tearing the rubber component. Shut off the nitrogen (N₂) supply before disconnecting the barb fitting from the labyrinth seal.
Wipe away debris that has fallen into the bowl during cleaning. SITEK recommends running an appropriate rinse cycle, including a longer rinse if needed, to help remove residual debris before processing wafers.
5. Clean the Motor and Remove Residual Debris
With the seal disassembled, use the controller to return the motor to Manual Mode and set it to approximately 500 RPM.
Use an alcohol-dampened Q-tip or cleanroom wipe to remove remaining Scotch-Brite residue from inside the motor shaft. Repeat as necessary, inspecting the cleaning material for debris until the area is clean.
6. Remove and Clean the Quick-Disconnect Shaft
To clean the shaft thoroughly, remove the quick-disconnect (QD) shaft from inside the motor. You will need an adjustable wrench and a 3/4-inch wrench.
At the rear of the tool, use the adjustable wrench to hold the square end of the shaft in place. Use the 3/4-inch wrench to loosen the jam nut securing the shaft.
Once the nut is loose, push the QD shaft forward into the tool and inspect it for debris.
Using a fresh cleanroom wipe dampened with IPA, wipe down the shaft. A Q-tip or a small amount of alcohol can also be used to clean the threaded end and remove debris from inside the shaft. Repeat the cleaning and inspection until no additional residue is visible. Dry and wipe away any remaining debris before reinstalling the shaft.
7. Reinstall the Quick-Disconnect Shaft
Reinstall the QD shaft and tighten the jam nut. Use the adjustable wrench to hold the square end of the shaft while tightening the nut with the 3/4-inch wrench.
If the cam has not been loosened, the motor should remain in position while the shaft is removed and reinstalled. The technician also restores the shaft to the 12 o’clock position before continuing.
8. Install the Labyrinth Seal
Confirm that the metal elbow is installed at the top of the labyrinth seal. Position the assembly on the tube inside the bowl that supplies air to the seal, keeping the elbow oriented upward.
Carefully position the rubber bowl seal behind the labyrinth seal. Work the rubber evenly around the assembly until it sits flat in the groove between the seal components. Confirm that the rear mounting holes are visible and aligned.
Install the longer screws at the back of the assembly to attach the seal to the motor. Do not fully tighten these screws yet.
9. Align and Secure the Seal
Insert the center seal alignment tool firmly into the middle of the assembly. This tool keeps the seal centered while the mounting screws are tightened.
Tighten the rear screws evenly around the assembly to prevent the seal from shifting out of alignment. Once the screws are secure, remove the alignment tool and insert the center seal.
The center seal should slide into place and rotate smoothly.
10. Install the Front Plate and O-Rings
Install the three small Teflon O-rings into the mounting holes for the front plate. Position the front plate over the seal, aligning the holes.
Install the three shorter front screws and tighten them evenly so the plate sits flat. Proper alignment is important for the seal to seat correctly.
Reinstall the Teflon ring on the front of the labyrinth seal.
11. Reinstall the Rotor
Turn the controller back on and allow the Rotor Stop Positioner (RSP) to actuate. Confirm that the shaft remains in the 12 o’clock position.
Reinstall the rotor and secure it with the QD rotor bolt.
The labyrinth seal replacement and motor shaft cleaning procedure is now complete.
SRD Repair and Spare Parts
SITEK Process Solutions provides repair services and spare parts for Semitool, Verteq, and SITEK Spin Rinse Dryers. Whether you need replacement components, maintenance assistance, or technical support, our team can help.
Contact SITEK Process Solutions
Phone: +1 916-797-9000
Email: sales@sitekprocess.com
Website: www.sitekprocess.com